A tyre can look perfectly fine from the driveway yet be close to unsafe on a wet road. Knowing how to check tyre tread takes less than a minute, needs very little equipment, and can prevent the unpleasant surprise of a failed MOT, reduced grip or a roadside puncture.
For drivers who rely on their car or van for work, school runs, airport trips and daily travel, tread checks are a simple part of staying roadworthy. The legal limit matters, but waiting until a tyre reaches that point is rarely the best plan. Grip drops as tread gets shallower, particularly in standing water.
How to check tyre tread using a 20p coin
The quickest check is the 20p test. With the vehicle safely parked, steering straight and the handbrake on, place a 20p coin into one of the main grooves that runs around the tyre. The outer rim of the coin should be hidden by the tread.
If you can see the raised outer band of the 20p coin, the tread may be too low and the tyre needs a proper measurement as soon as possible. Repeat the check in several places around each tyre, including the inner and outer edges. Tyres do not always wear evenly, so one quick check in the middle can give a false sense of security.
The 20p test is a useful warning check, not a substitute for an accurate gauge. A simple tread-depth gauge is inexpensive and gives a reading in millimetres. Measure the main grooves in at least three points across the tyre width and at several points around its circumference.
For cars, vans and other light vehicles, the UK legal minimum is 1.6mm across the central three-quarters of the tread, around the full circumference. A tyre below this limit is illegal and unsafe to use. It can also lead to a fine of up to £2,500 and three penalty points per illegal tyre.
Do not wait for the legal minimum
The legal limit is not a target. By the time a tyre is at 1.6mm, its ability to clear water is greatly reduced compared with a tyre with deeper tread. That raises the risk of aquaplaning and extends braking distances in wet conditions.
Many tyre professionals advise planning replacement at around 3mm. This is particularly sensible if you regularly travel on motorways, cover high mileage, carry family passengers or use a van for work. It gives you time to choose suitable tyres and arrange fitting before the tyre becomes an urgent issue.
The right point to replace can depend on how and where you drive. A vehicle mainly used for short local journeys may wear differently from one used daily on fast A-roads. Winter conditions, heavy loads, frequent towing and wet rural routes all place more demand on the tyre. If you are unsure whether the remaining tread is safe for your driving, ask a technician to inspect it properly.
Find the tread-wear indicators
Most modern tyres have tread-wear indicator bars built into their main grooves. Look along the sidewall for the letters TWI, a small triangle or another marker showing where these bars sit. The bars run across the groove and are set at 1.6mm.
When the surrounding tread is level with the indicator bar, the tyre has reached the legal minimum. Replace it immediately. These indicators are helpful, but a gauge remains the clearest way to see how much usable tread is left before the tyre becomes illegal.
Check every tyre, including the spare
Do not assume all four tyres are wearing at the same rate. Front tyres often wear faster because they handle most of the steering and braking forces. On front-wheel-drive vehicles, they also deliver power to the road. Rear tyres can still wear unevenly, especially if alignment or suspension is causing a problem.
Check the spare as well, if your vehicle has one. It may have plenty of tread but be underinflated, cracked or too old to rely on in an emergency. A space-saver spare has separate speed and distance restrictions, so read the label before using it.
If your vehicle has a tyre repair kit instead of a spare wheel, make sure the sealant is in date and that you understand its limits. Sealant is not suitable for every puncture and will not fix sidewall damage, a blowout or a tyre that has been driven flat.
Look beyond tread depth
Tread depth is only one part of a tyre condition check. As you inspect the grooves, look carefully for visible damage, changes in shape and signs of uneven wear. These can tell you whether there is a mechanical issue that new tyres alone will not solve.
Pay attention to these warning signs:
- A nail, screw or sharp object embedded in the tread
- Cracks, cuts, bulges or splits in the sidewall
- Tread worn smooth on one edge but deeper on the other
- Feathered tread blocks that feel sharp in one direction
- A vibration through the steering wheel or vehicle floor
- Repeated pressure loss from the same tyre
A puncture in the central tread area may sometimes be repairable, depending on its size, position and whether the tyre has been driven while deflated. Damage near the shoulder or sidewall generally requires replacement. Do not pull out a nail or screw before the tyre has been assessed, as it may be temporarily slowing the air loss.
A bulge is more urgent. It can indicate internal damage to the tyre structure, often after a pothole strike or kerb impact. Do not continue driving on a bulging tyre, even if the tread looks good. Arrange replacement where the vehicle is parked if possible.
What uneven tread wear tells you
Uneven wear is not just cosmetic. It can shorten tyre life, affect handling and point to a fault that needs attention. Wear on both outer shoulders commonly suggests underinflation, while excessive wear down the centre can mean overinflation. Always check your vehicle handbook or fuel-flap label for the correct pressures, then measure them when the tyres are cold.
Wear concentrated on one inner or outer edge can indicate wheel alignment problems. This is common after striking a pothole or kerb. Cupped or patchy wear may be linked to worn suspension components, wheel balancing issues or repeated hard braking. A professional inspection can identify the cause before it damages the replacement tyre too.
Do not reduce pressure to make a worn tyre look better or attempt to reshape damaged rubber. Tyres are the only contact between your vehicle and the road. Shortcuts here can become expensive and dangerous very quickly.
Build tyre checks into your routine
A monthly visual check is a practical habit, with an extra check before a long journey, a holiday drive or carrying a heavier load. Check tread and pressure when the tyres are cold, ideally before driving or after the vehicle has been parked for several hours.
You should also inspect tyres after hitting a deep pothole, clipping a kerb or noticing a sudden change in handling. If the steering pulls to one side, the vehicle feels unstable in rain, or a tyre pressure warning light appears, do not simply reset the warning and carry on. Find out why it happened.
For fleet vans, regular checks are especially worthwhile. A preventable tyre failure means missed jobs, disappointed customers and time off the road. Recording tread depths, pressures and visible damage gives operators a clearer picture of when replacements should be booked rather than left until a vehicle is stranded.
When to stop driving and get help
Stop and seek professional assistance if the tyre is below the legal tread limit, has a sidewall cut or bulge, is rapidly losing pressure, or has been driven flat. Continuing could destroy a tyre that might otherwise have been assessed for repair, and it can damage the wheel as well.
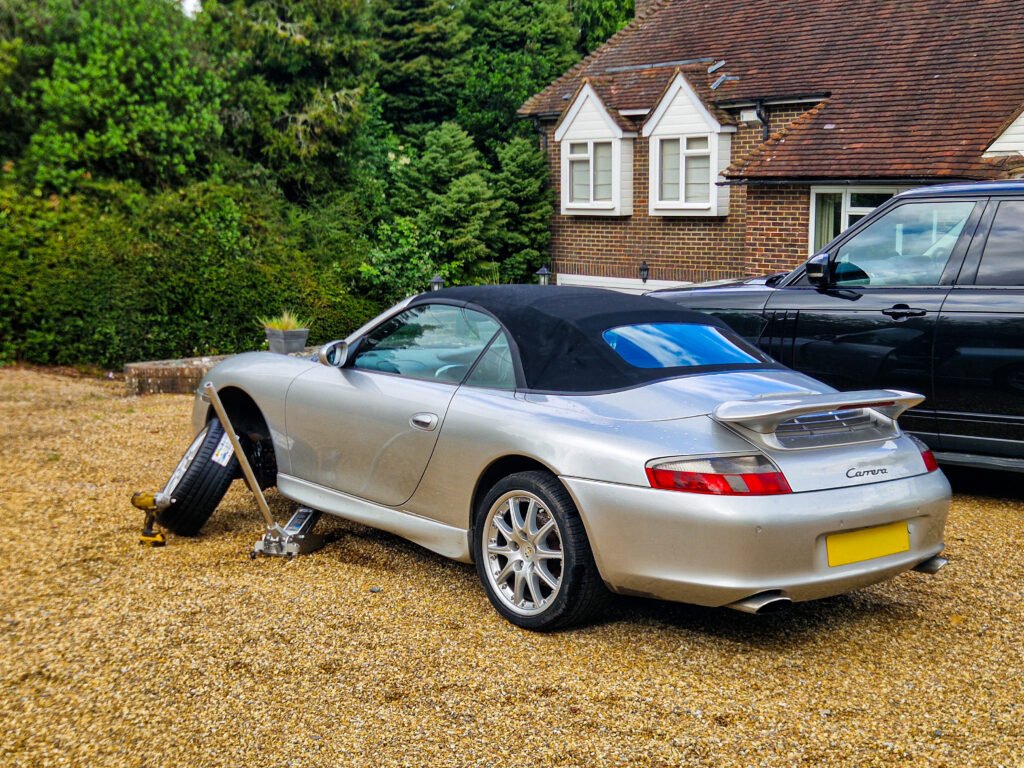
If you are at home, at work or stranded roadside in Surrey or West Sussex, Prime Mobile Tyre Fitting can bring the equipment, replacement tyre and professional inspection to your location. That means no towing, no waiting at a garage and no need to risk driving on a tyre you do not trust.
A 20p coin and a few minutes can reveal a problem before the weather or a motorway journey does. Check your tread regularly, act early when wear is getting low, and give yourself the best chance of staying safely back on the road.